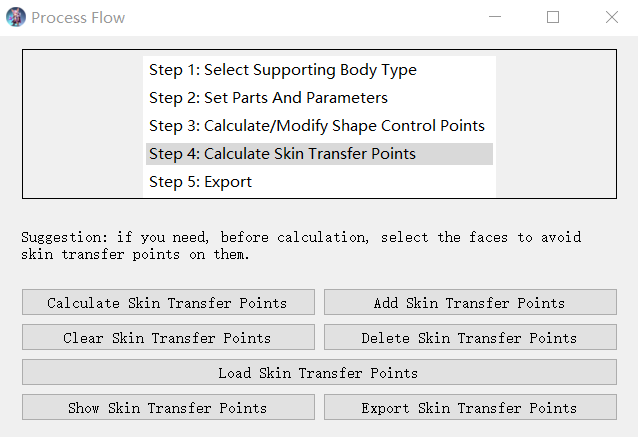
Calculate Skin Transfer Points
In this procedure, make sure the right scene is set to Edit Vertices / Enter Vertex mode.
This procedure consists of the following steps:

Calculate Skin Transfer Points And Check
Click the "Calculate Skin Transfer Points" button to clear all current skin transfer points if they exist, and then calculate them.
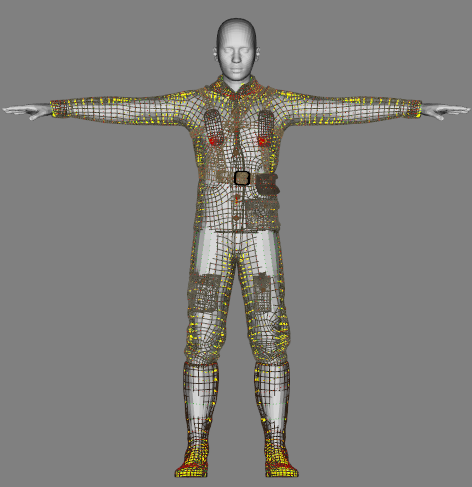
Click the "Show Skin Transfer Points" button to check them in the left viewport as shown in the following figure:

Add Skin Transfer Points And Check (Optionally)
This step is optional.
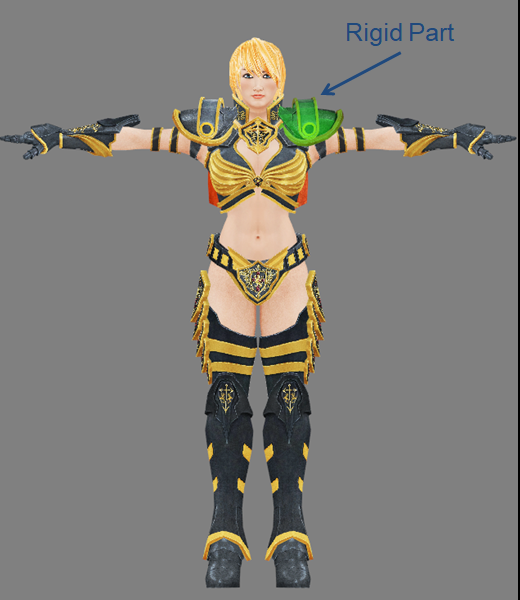
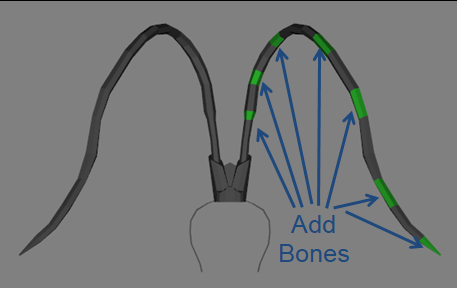
If you want to make some cloth vertices rigid, or add a bone to the cloth as shown in the following figures:


then for each of these regions, firstly select the region, and click a character vertex in the right scene, then click the "Add Skin TRansfer Points" button, a dialog window will pop up to ask for the "Recommended New Bone Name". If you recommend to add a new bone, enter a name, otherwise leave it empty. The tool will add skin transfer points from the character vertex to the vertices of this region.
Click the "Show Skin Transfer Points" button to check them in the left viewport as shown in the following figure:
It should be noted that each region must have its own character vertex which can not be shared by other regions.
Clear Skin Transfer Points (optionally)
Clicking this button clears all current skin transfer points.
Delete Skin Transfer Points (optionally)
If you want to delete some skin transfer points on some regions of the cloth, select these regions, then click this button.
Export and Load
You are recommended to save the calculated points by exporting to files. For example, by loading the files, you can repeat the process exactly, and do not need to calculate or modify them again. This is also helpful to find the causes when there is any problem.